VRP M157 M278 Map Tap Install Guide
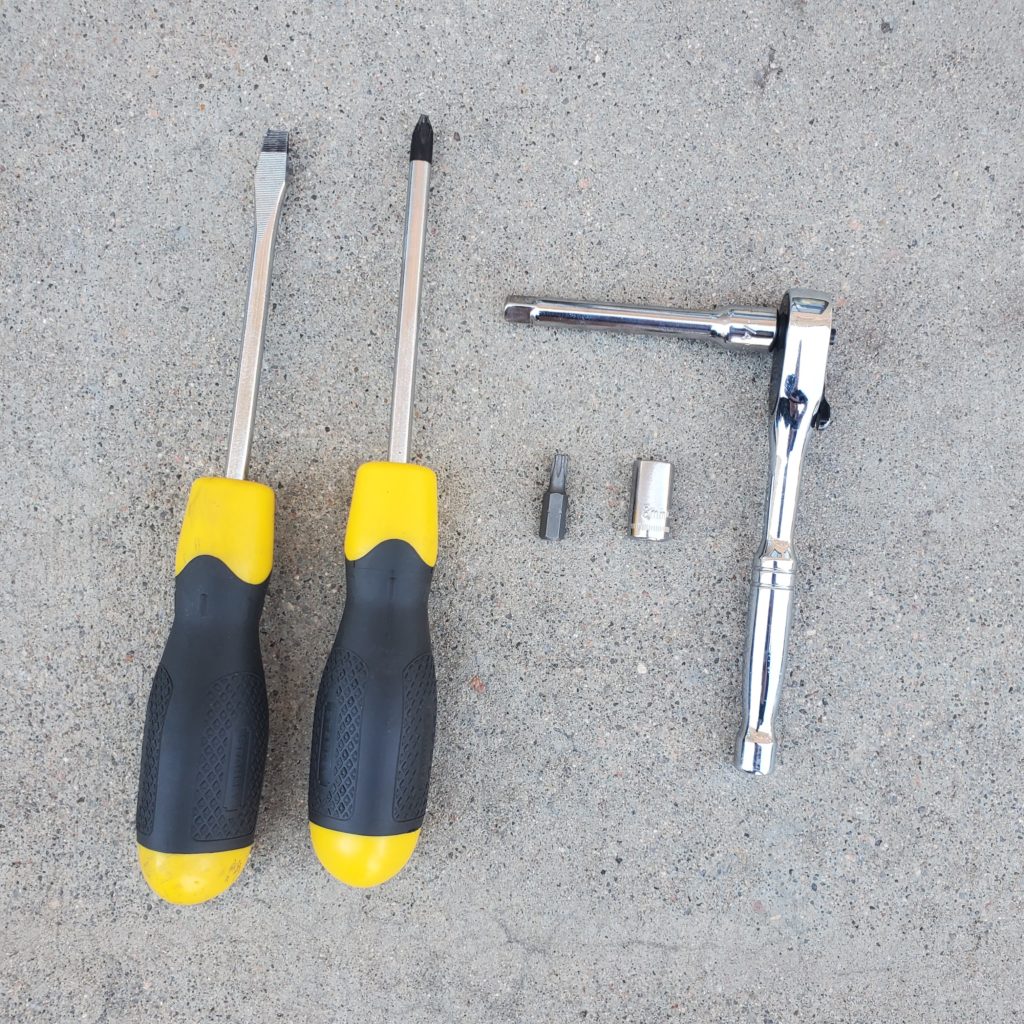
Tools Required:
- Flathead screwdriver
- Large head Phillip’s screwdriver
- Ratcheting wrench
- E8 Torx
- T25 Torx head
Estimated time: About 30 minutes.
Step One:
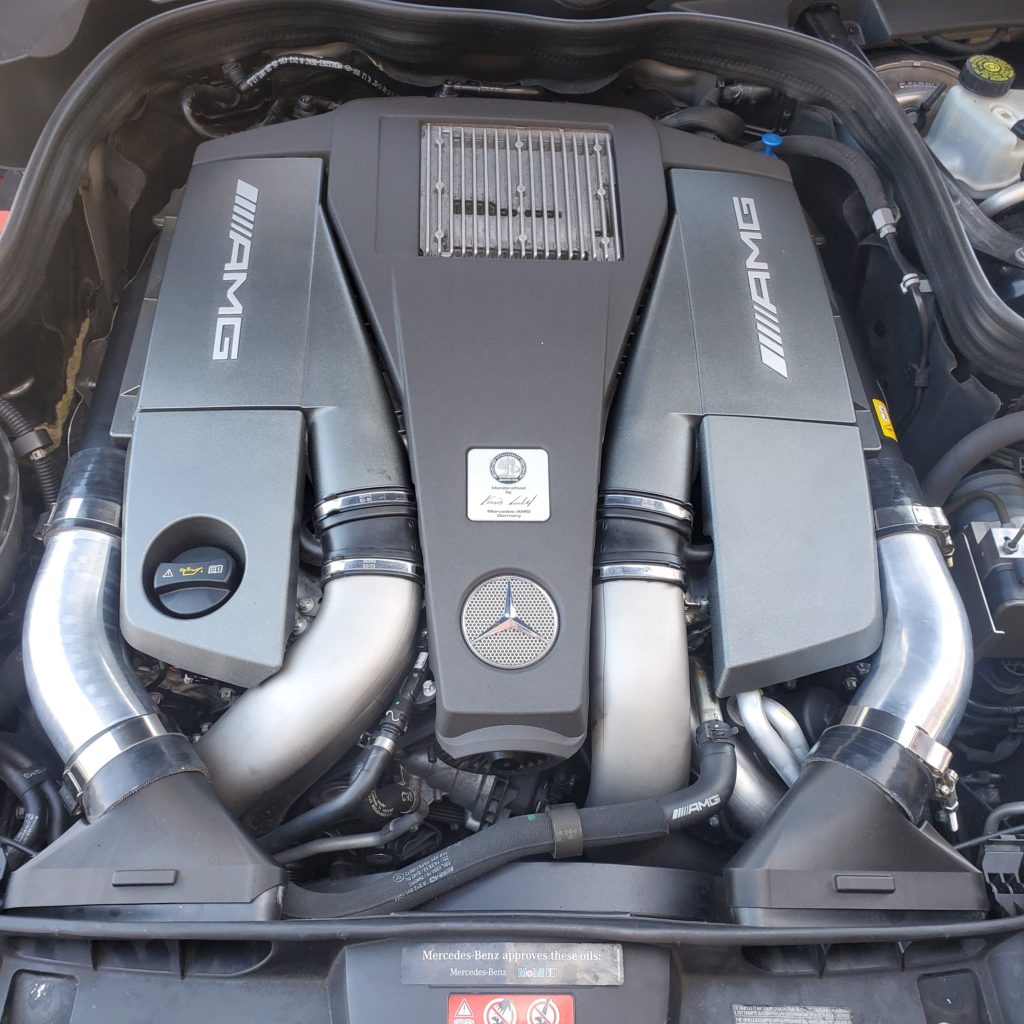
Remove the engine cover and passenger’s side (LHD) airbox.
Use the Flat head screwdriver to loosen the inside clamps from the airboxes to the turbos.
Pull up on the airbox to release it from its rubber grommets.
Step Two:
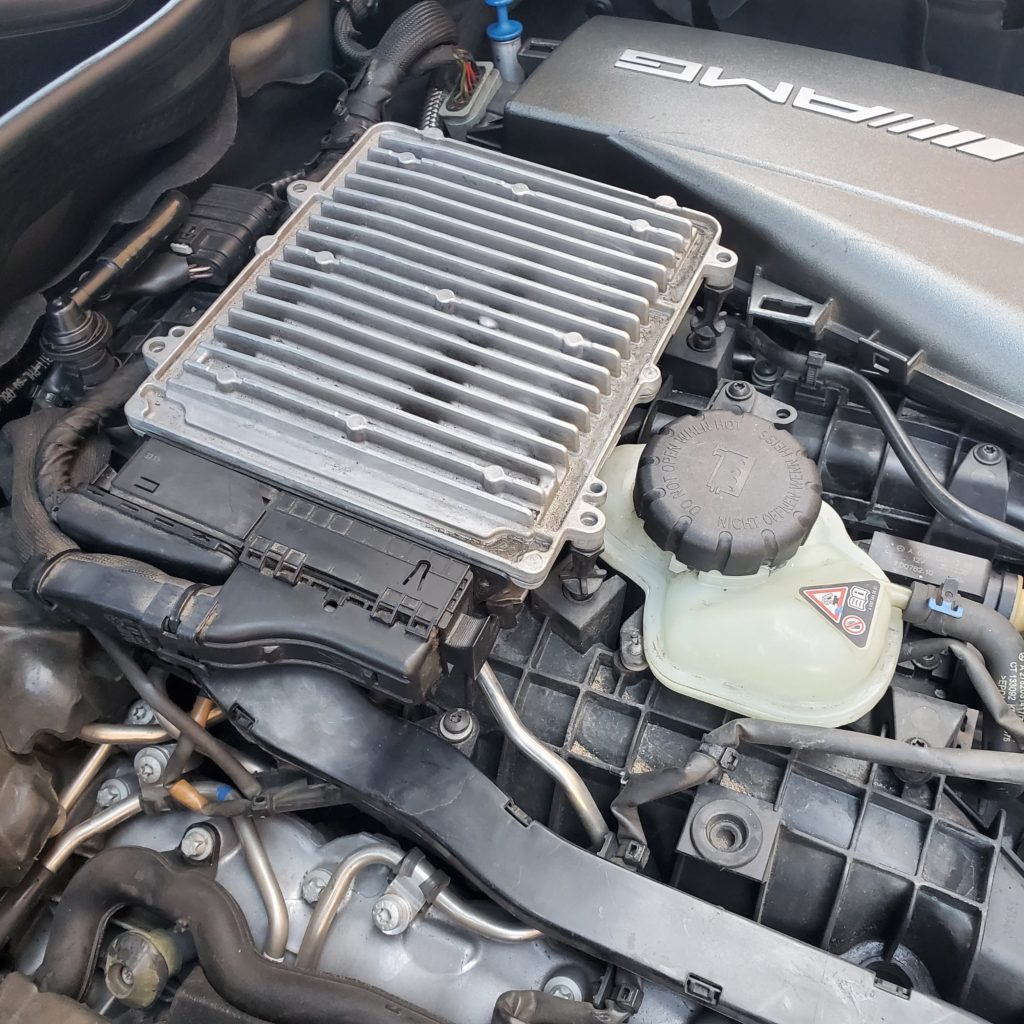
Pull up on the ECU to release it from the grommets.
Leave the ECU plugged in and rest it against the firewall.
Step Three:
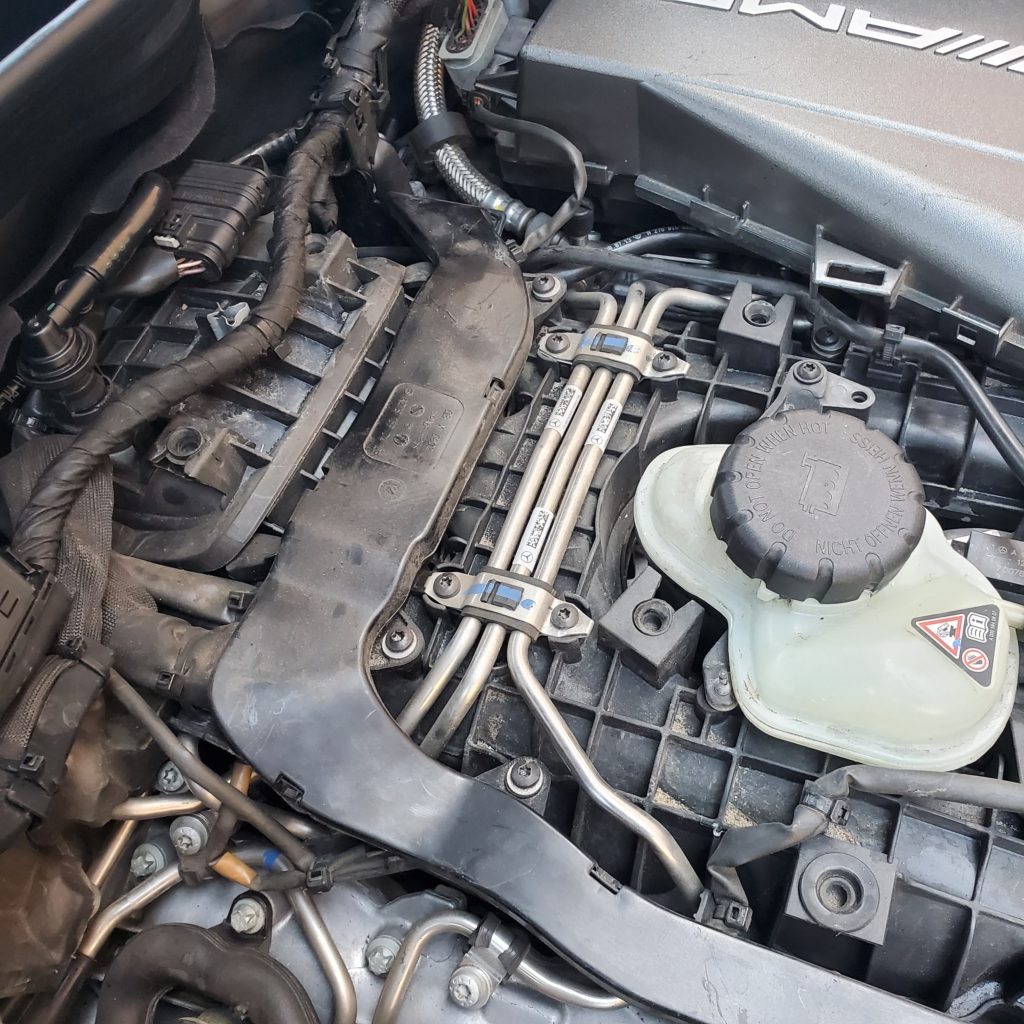
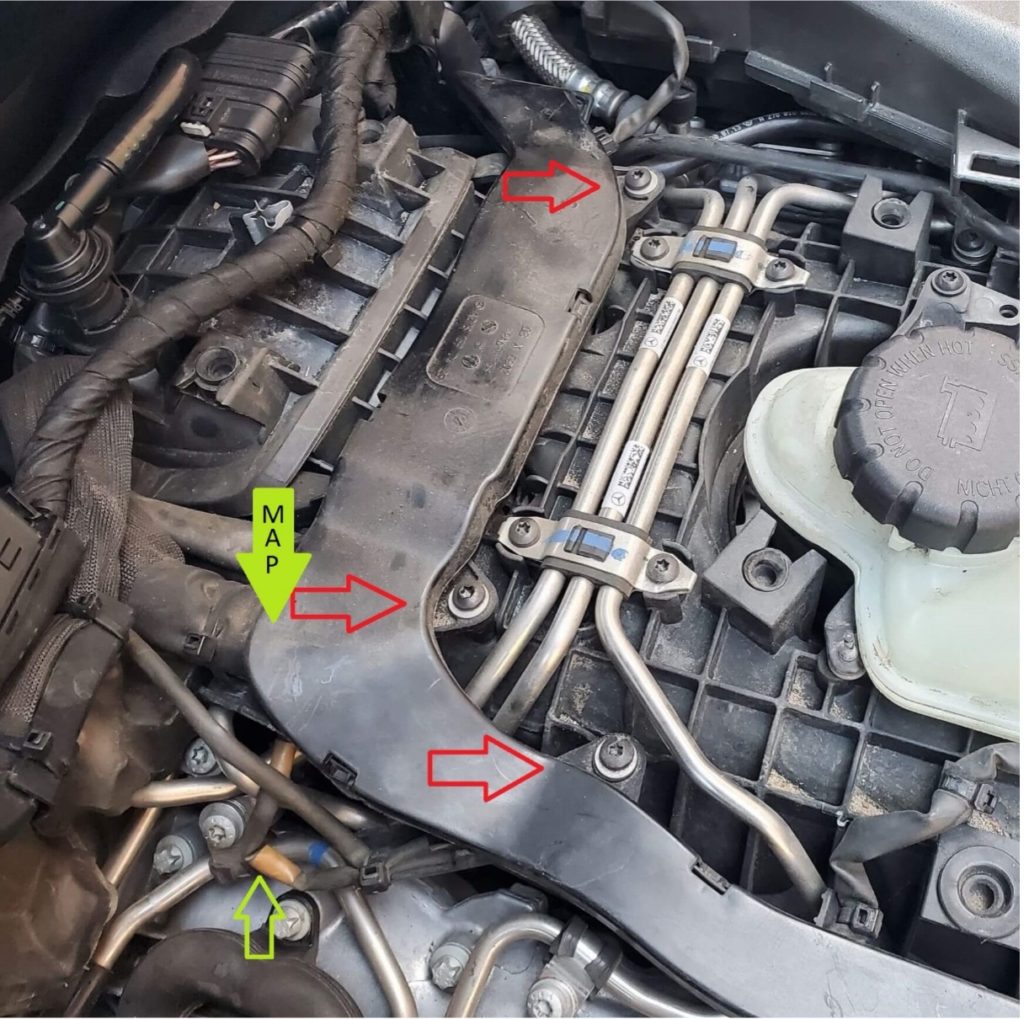
We need access the Map Sensor underneath the wiring harness loom (Large Green arrow shows general location, Small green arrow shows the wire for the sensor).
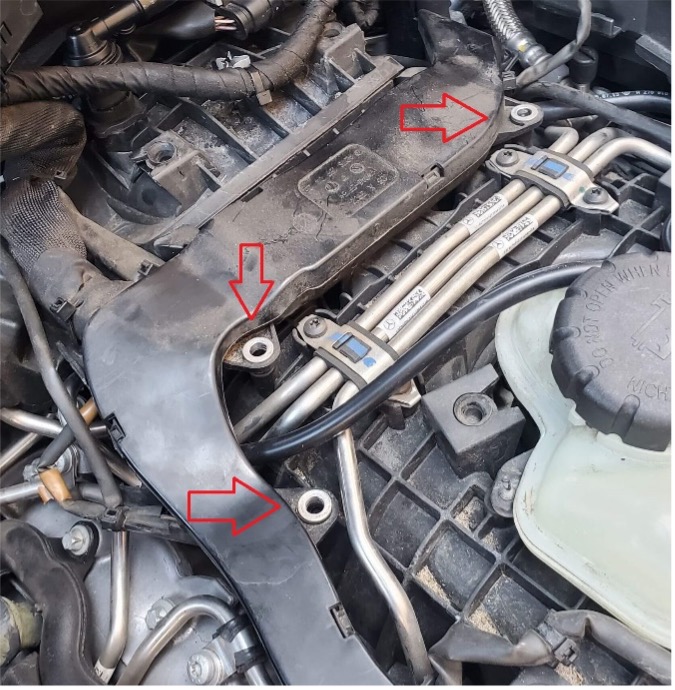
We will need to loosen the screws holding down the loom. There are 3 T25 (red arrows) and one E8 (Not pictured) the E8 is bolted to the valve cover a little further forward on the engine.
Step Four:
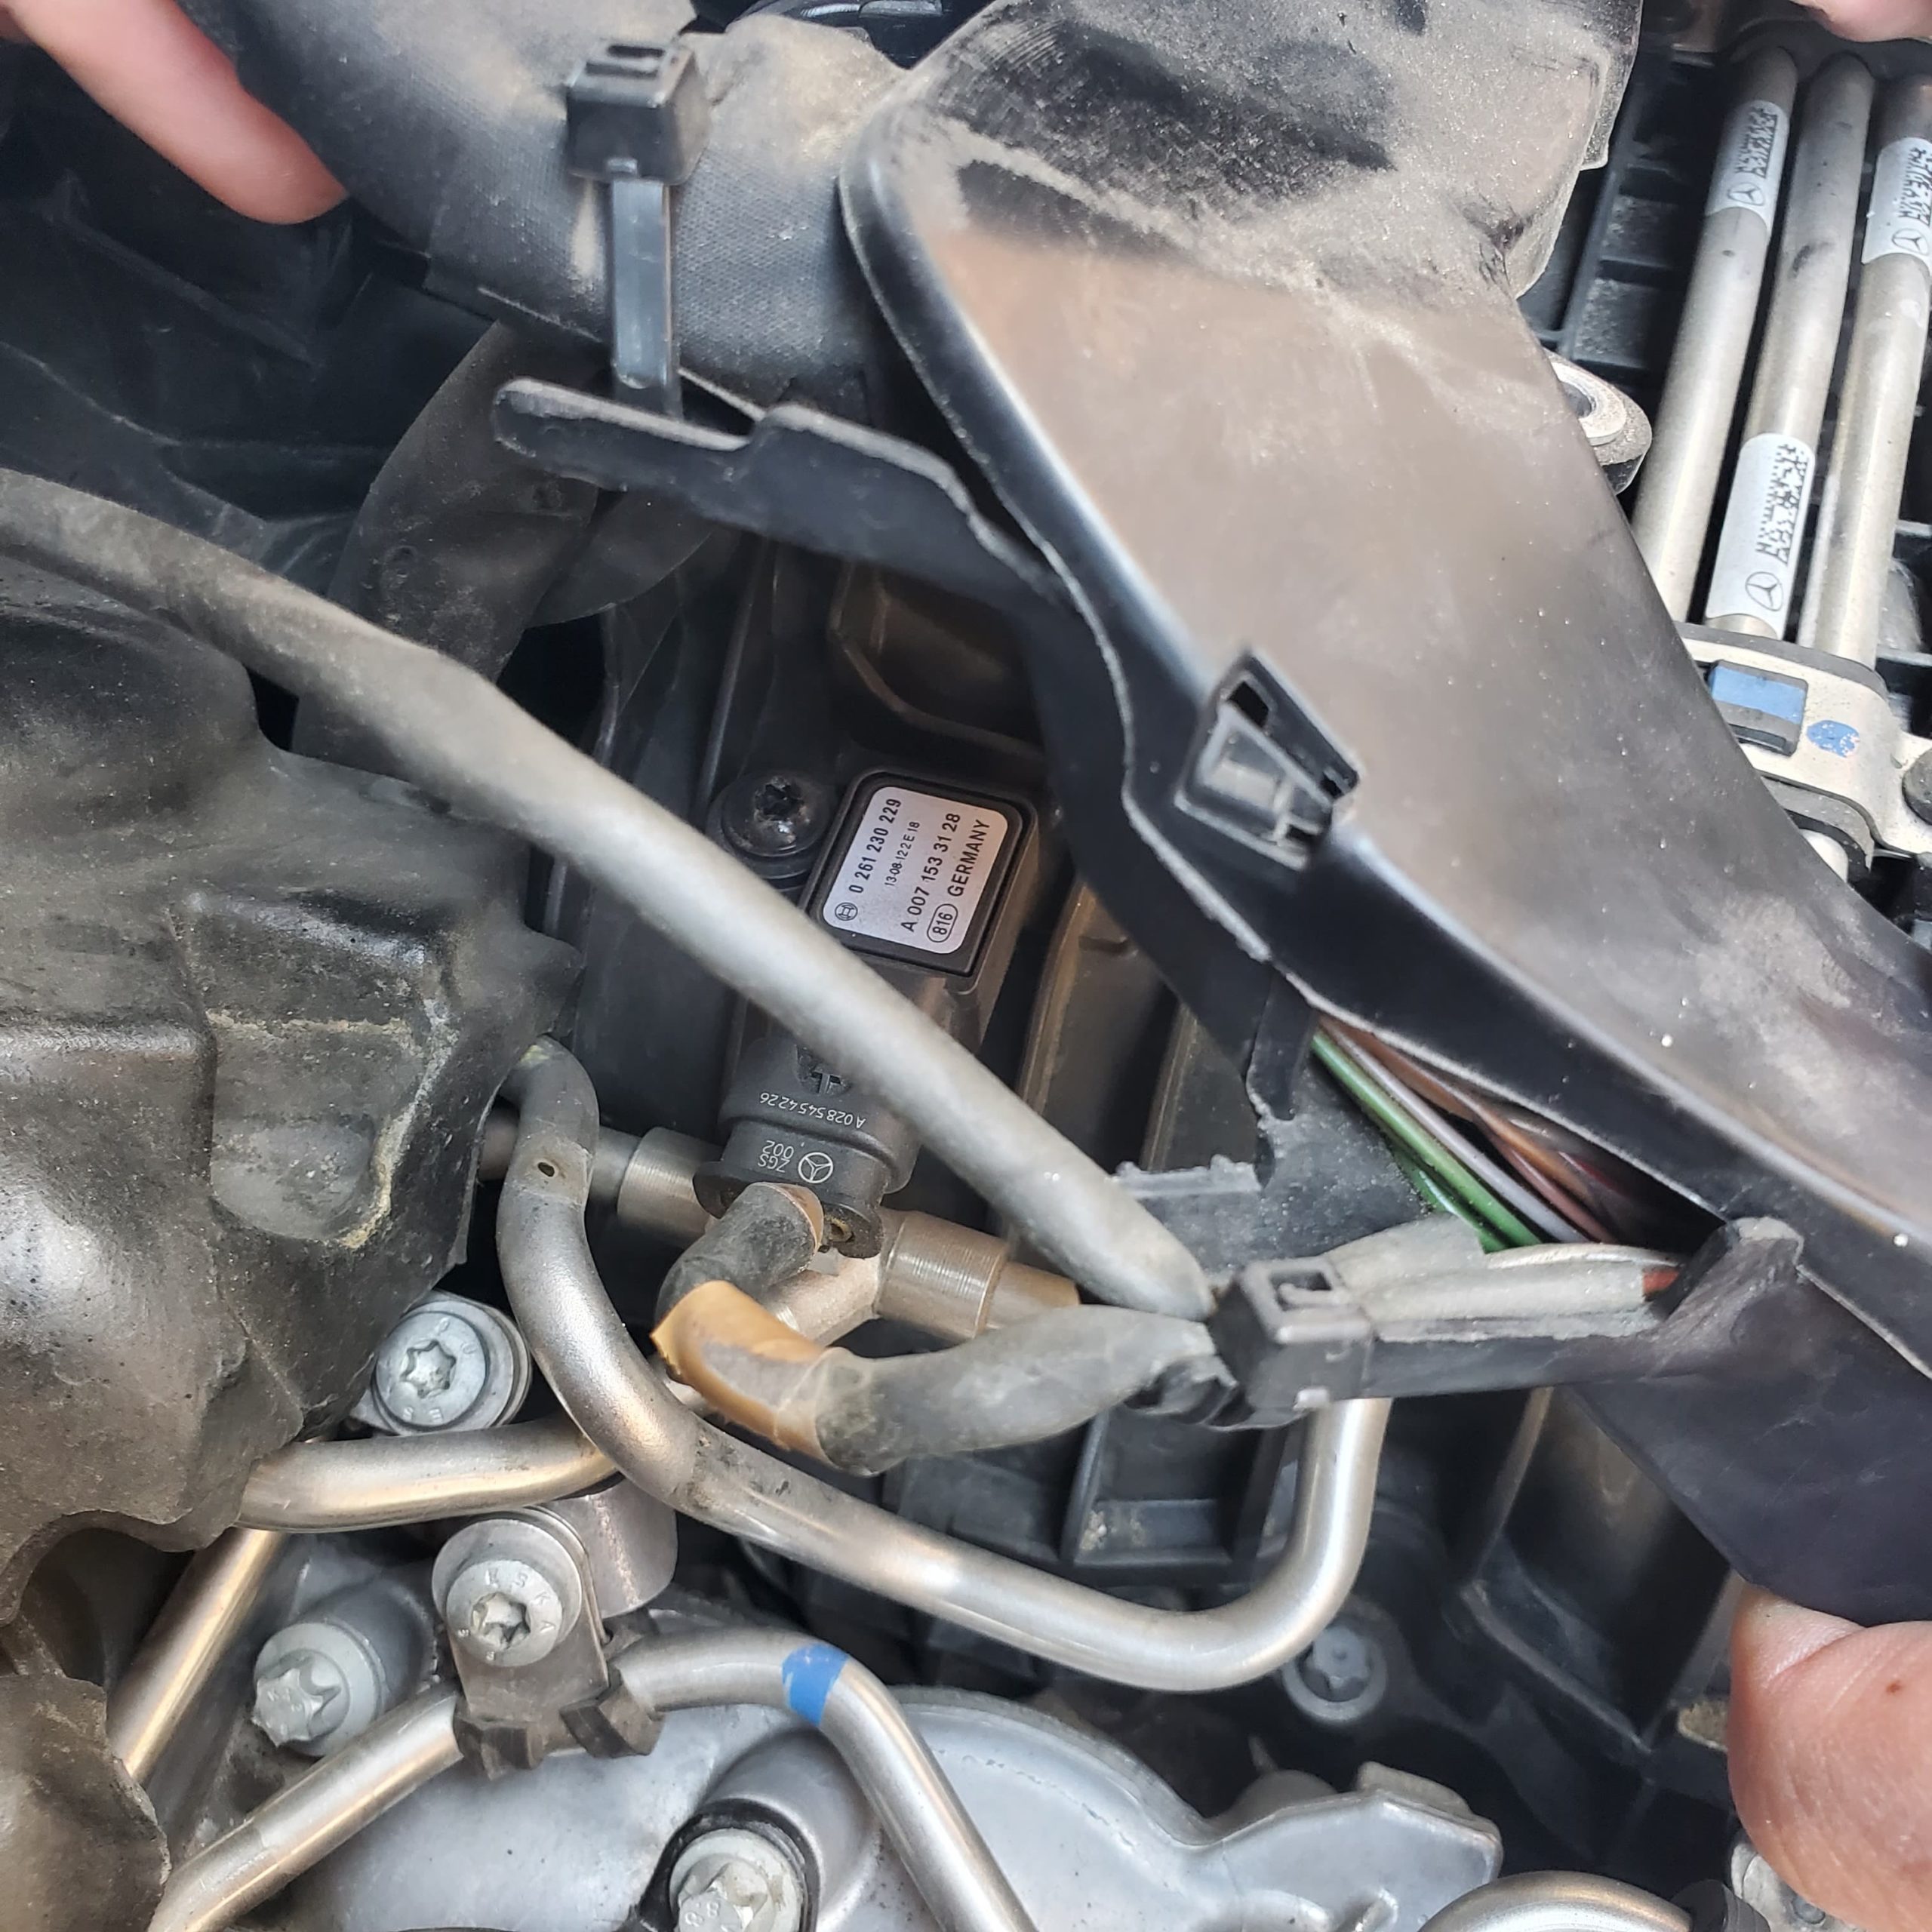
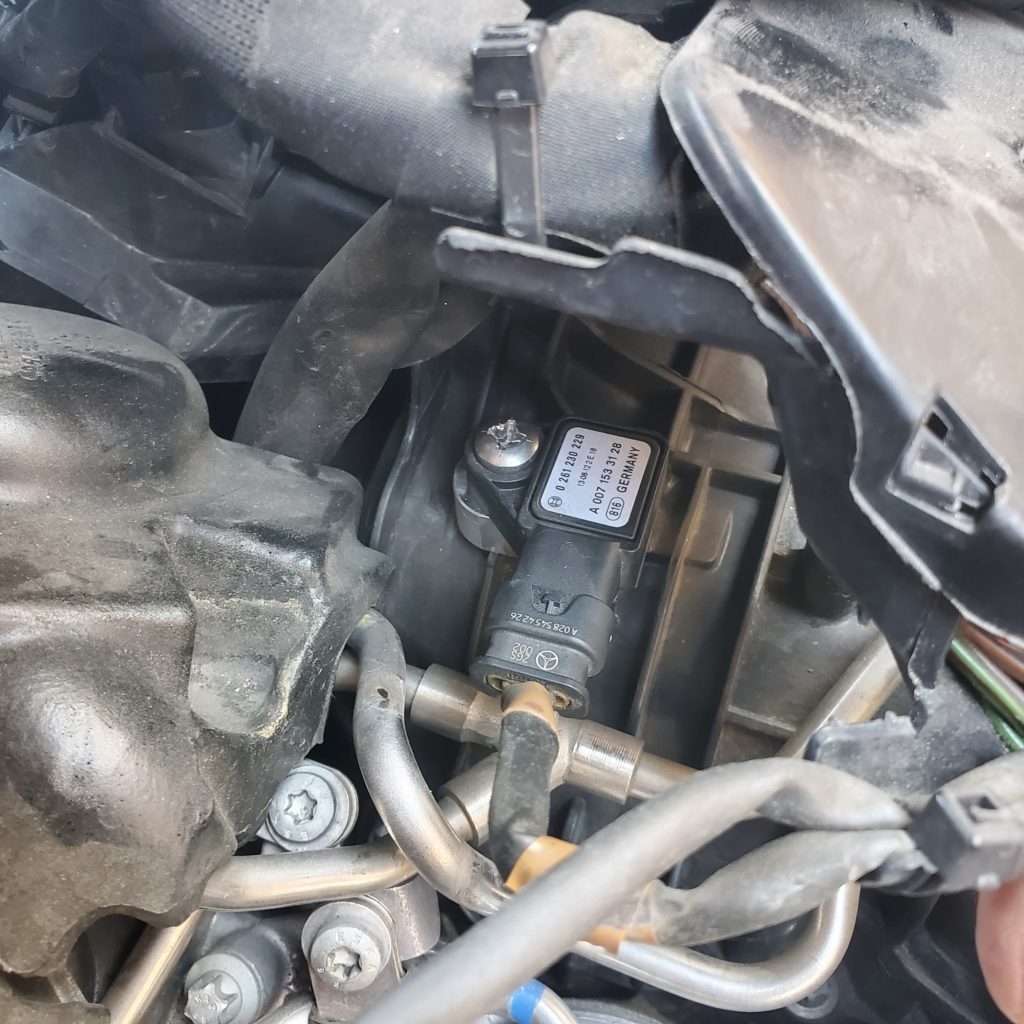
Once the 4 screws have been removed the loom will be loos enough to lift up and reveal the map sensor.
Remove the 1 T25 Holding the map sensor in and pull it out of the intake manifold
Step Five:
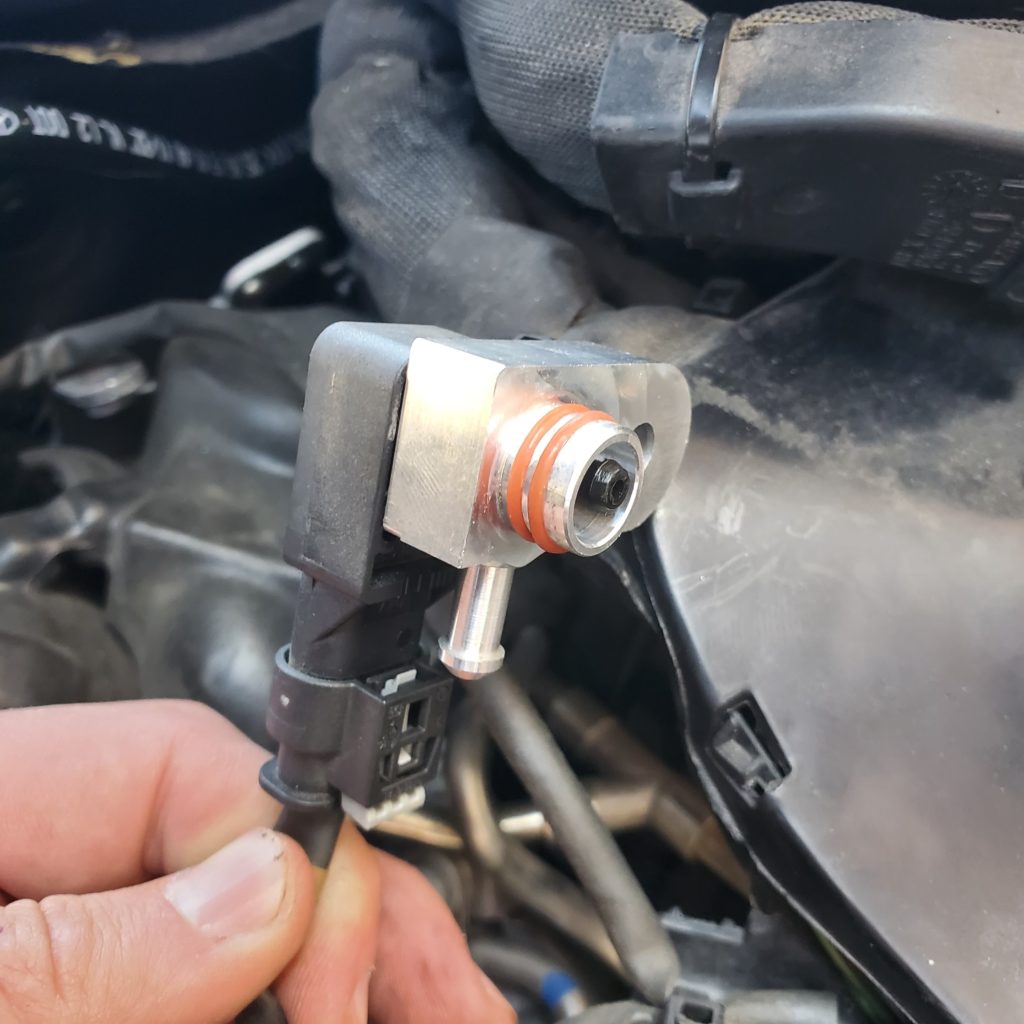
Put the Map Tap Onto the Map sensor and reinstall using the provided self tapping screw. (it is easiest to install the vacuum line Prior to putting the map tap into the manifold)
Step Six:
Put the Wire loom back in reinstalling the 3 T25 screws and the E8 Bolt
Step Seven:
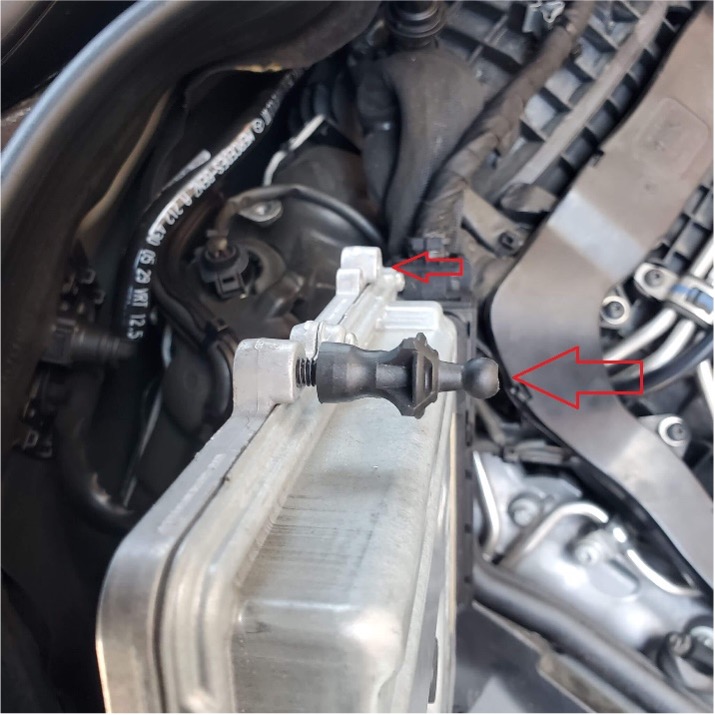
Remove the Rear Standees on the ECU and replace them with the longer standees provided in the kit
Final Step:
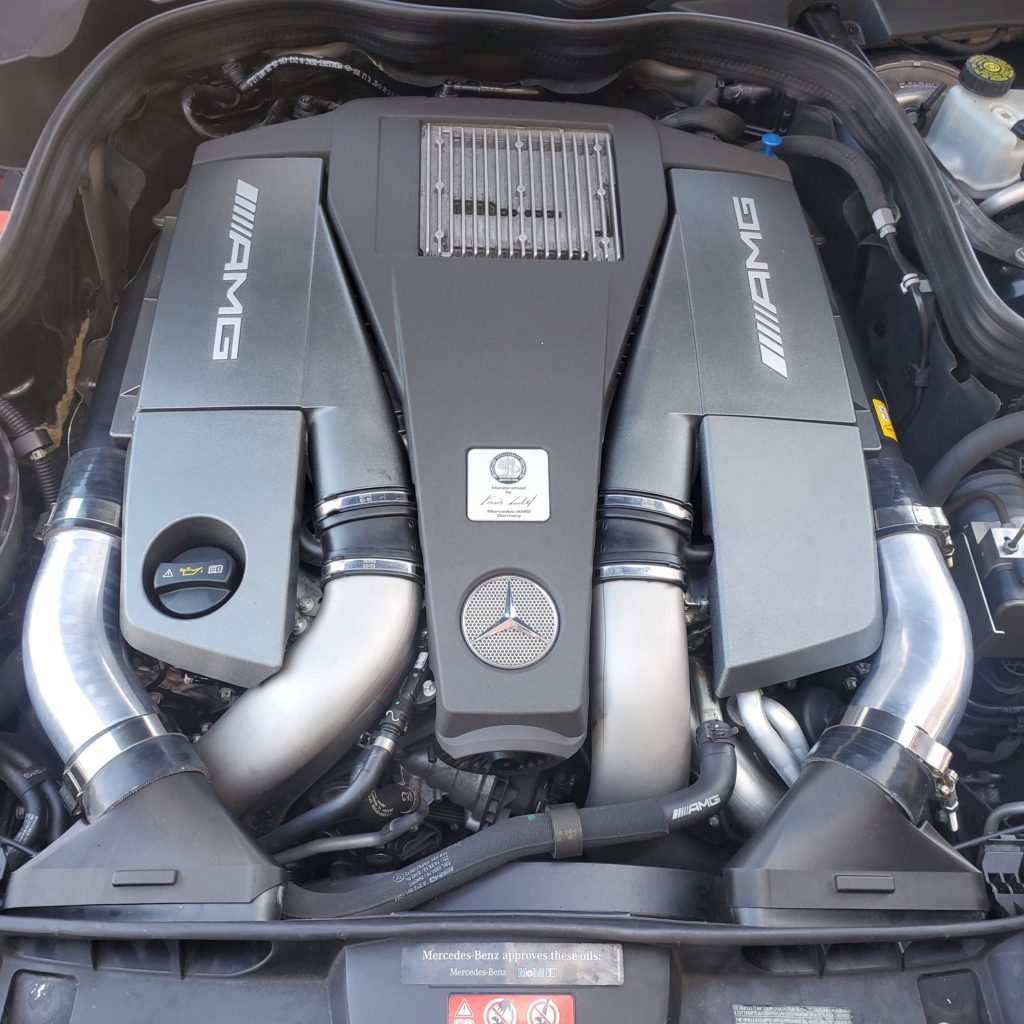
Put ECU back into grommets, Reinstall Airbox, And replace engine cover.
