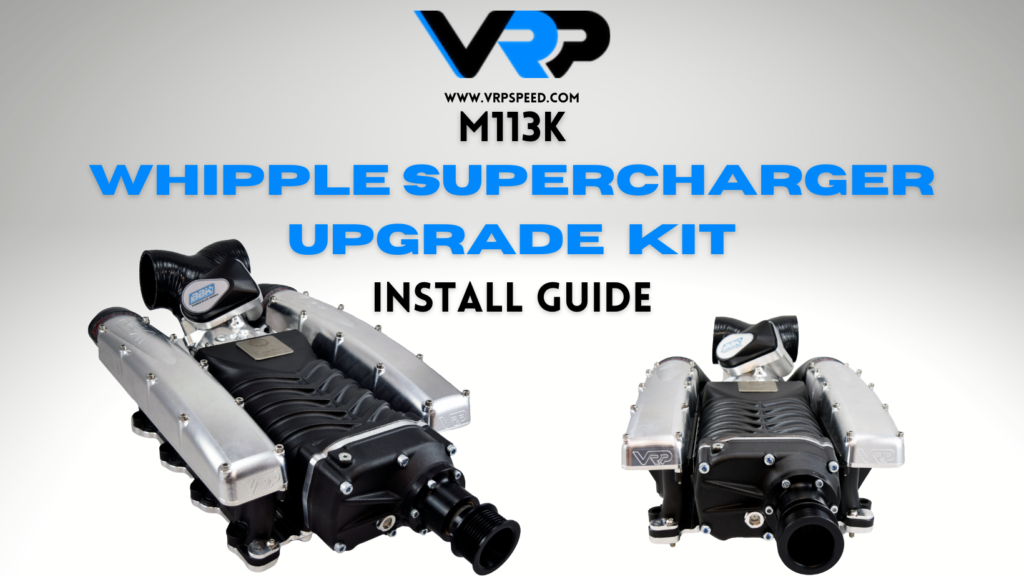
VRP 2.9L Whipple Supercharger Install Guide
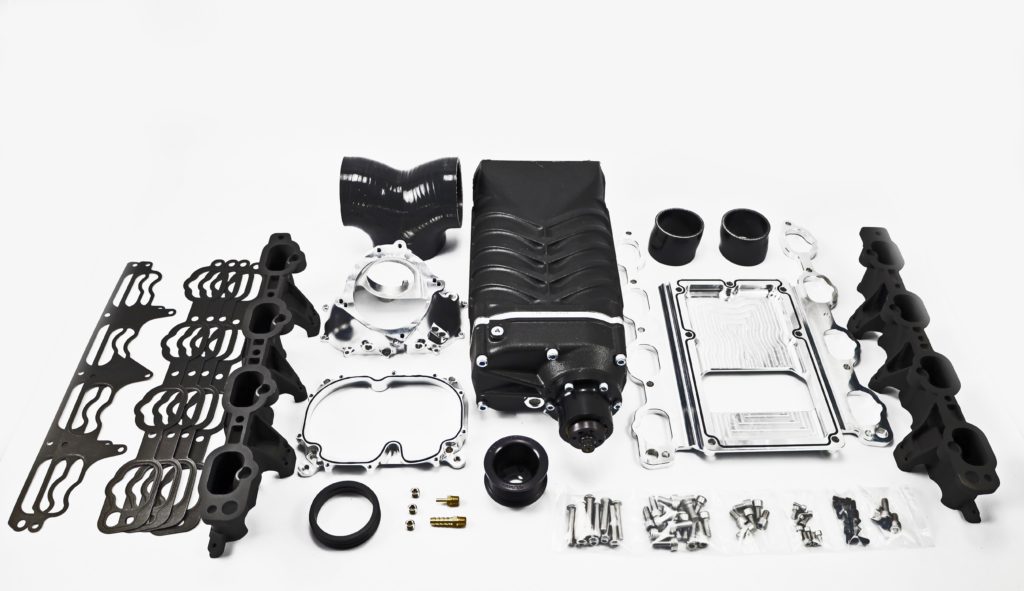
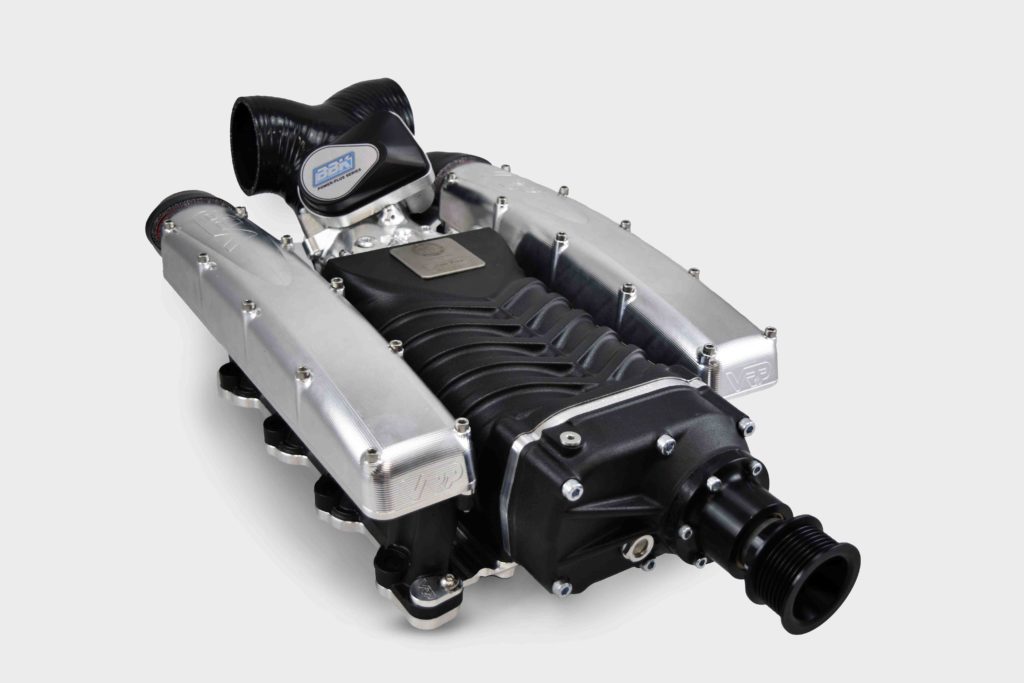
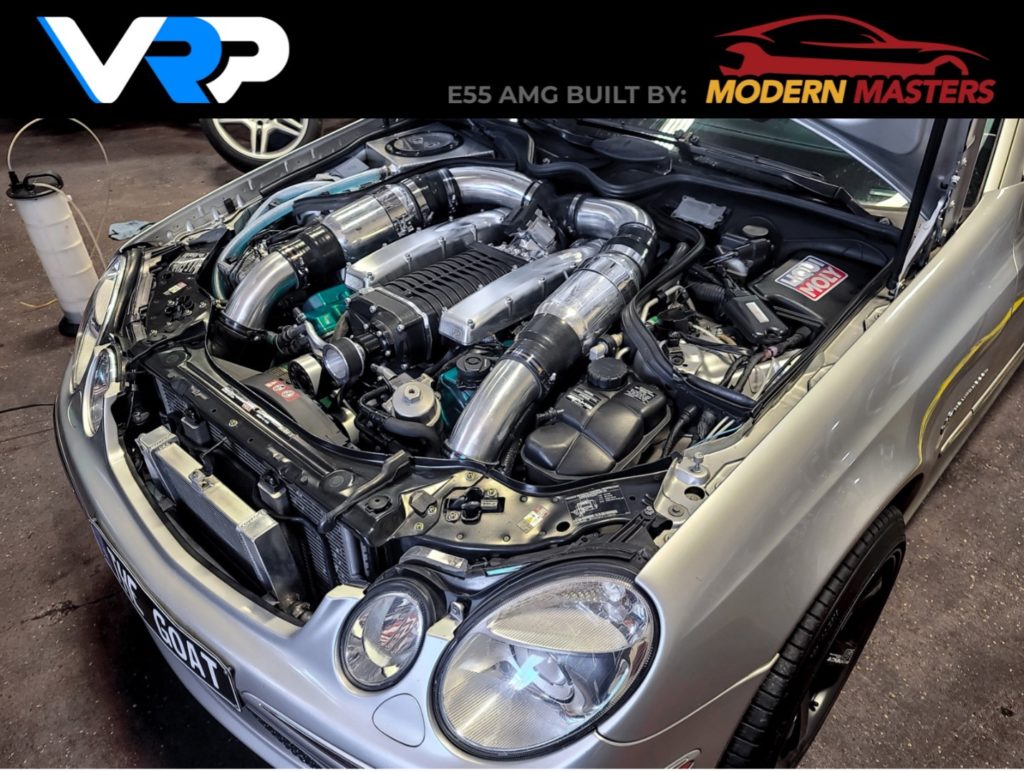
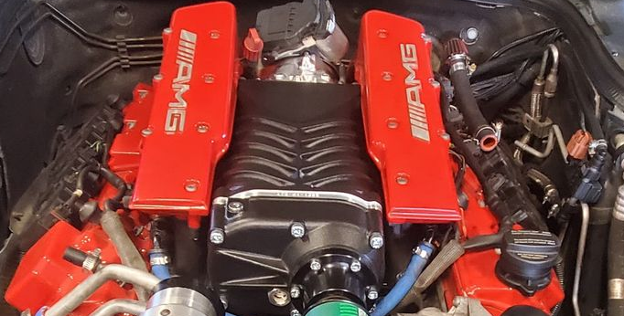
The VRP 2.9L Whipple Kit is the ultimate performance upgrade for M113k! The major advantage of this kit is its ability to utilize factory parts.
We have prepared this guide to help with your installation process!

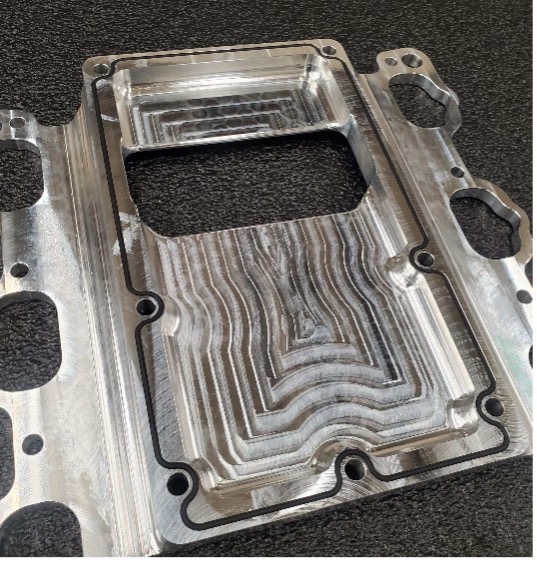
Step 1: Apply Gaskets
Take the gasket material provided and gently push it into the grooves on the snout adapter plate and base plate.
Be careful not to stretch the material so you do not leave thin spots in the application.
Overlap the material by 1/4” and cut. Use RTV to attach the ends.
(Generation 1 Kits do not have this type of gasket)
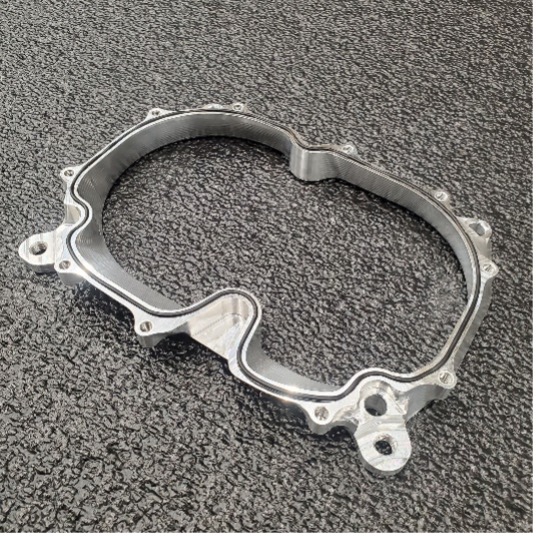
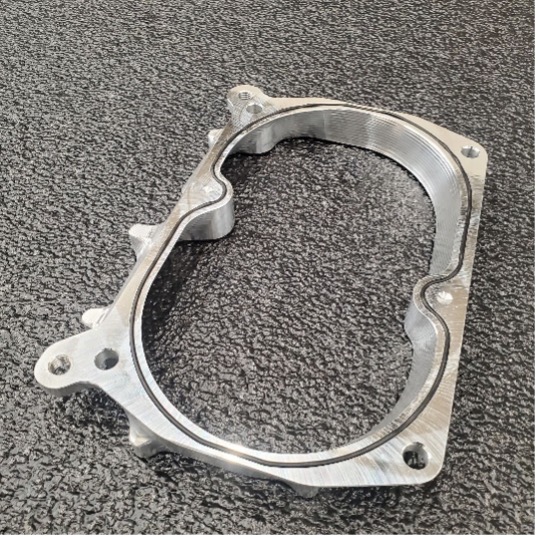
Step 2:
(Generation 1 Kits: Apply RTV Black silicone to the flange face of the supercharger.)
Install the snout adapter to the rear of the supercharger with 4x (6x for Gen 2 Whipple headunits) M8 X 20m
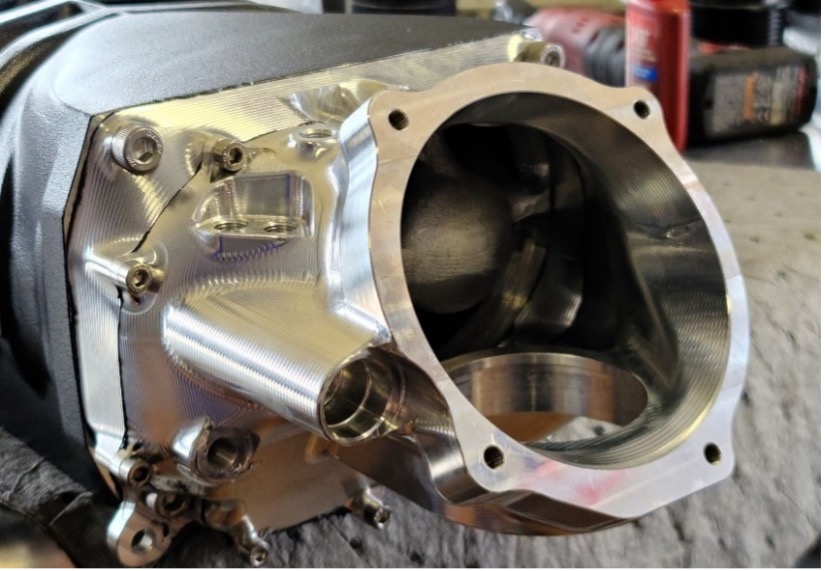
(Generation 1 Kits: Apply RTV Black Silicone to the Snout adapter)
Install the Snout using 10x m5 X 10mm bolts
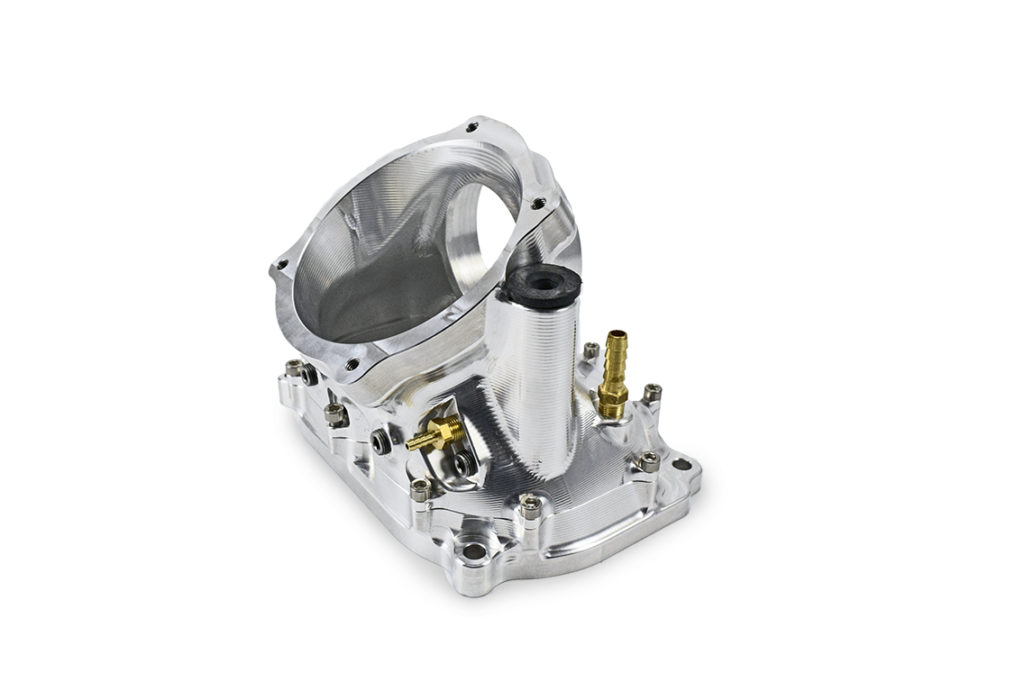
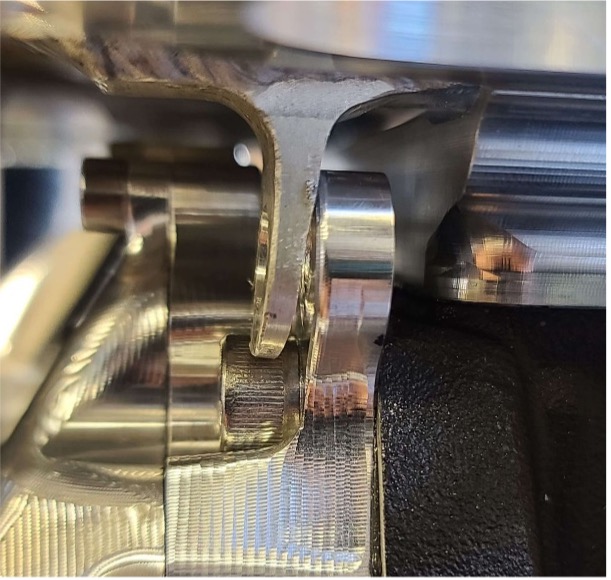
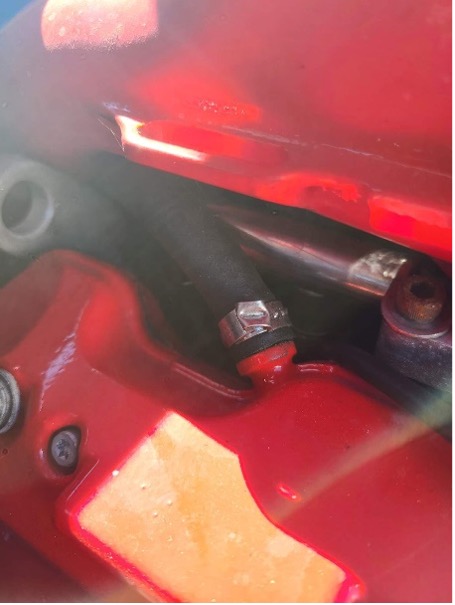
Install the brass fittings and 1/8npt plugs as shown in the photo to the right. The larger 3/8 Barb goes in the rear of the snout, This will tie into the existing metal tube bolted to your Valve cover near the end of the install.
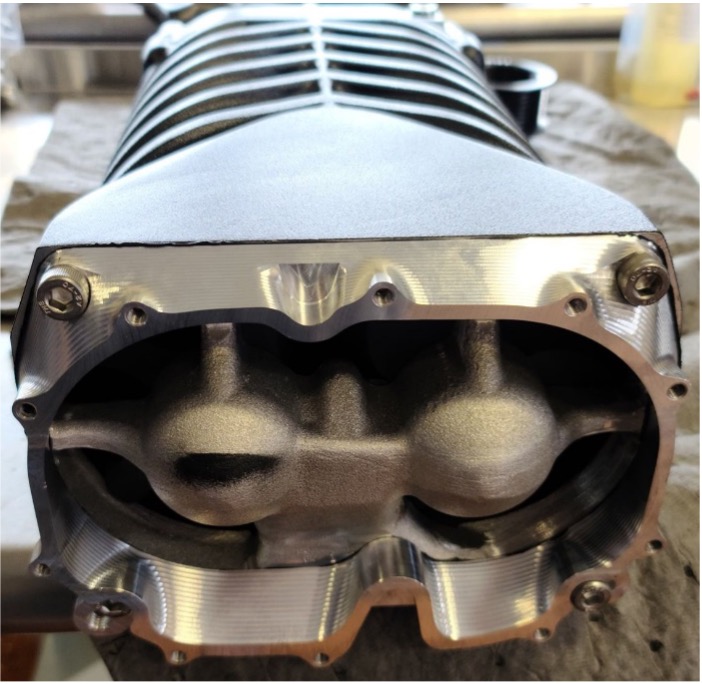
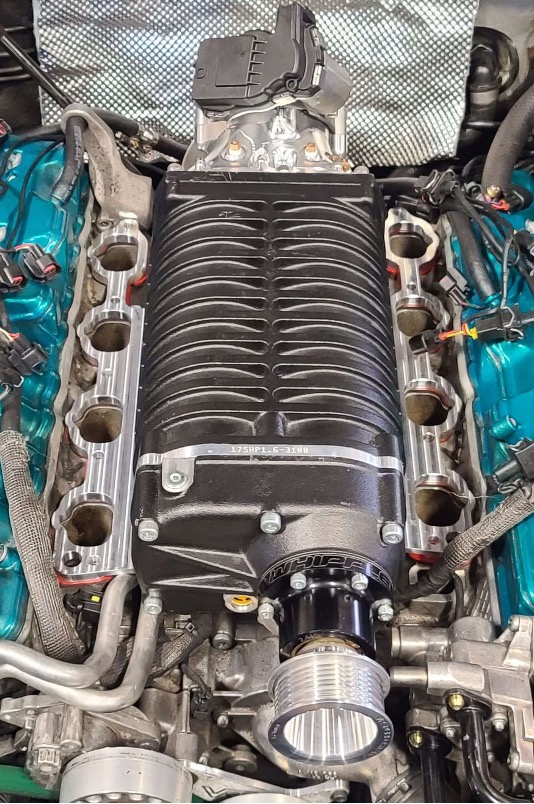
Step 3: Install the base plate
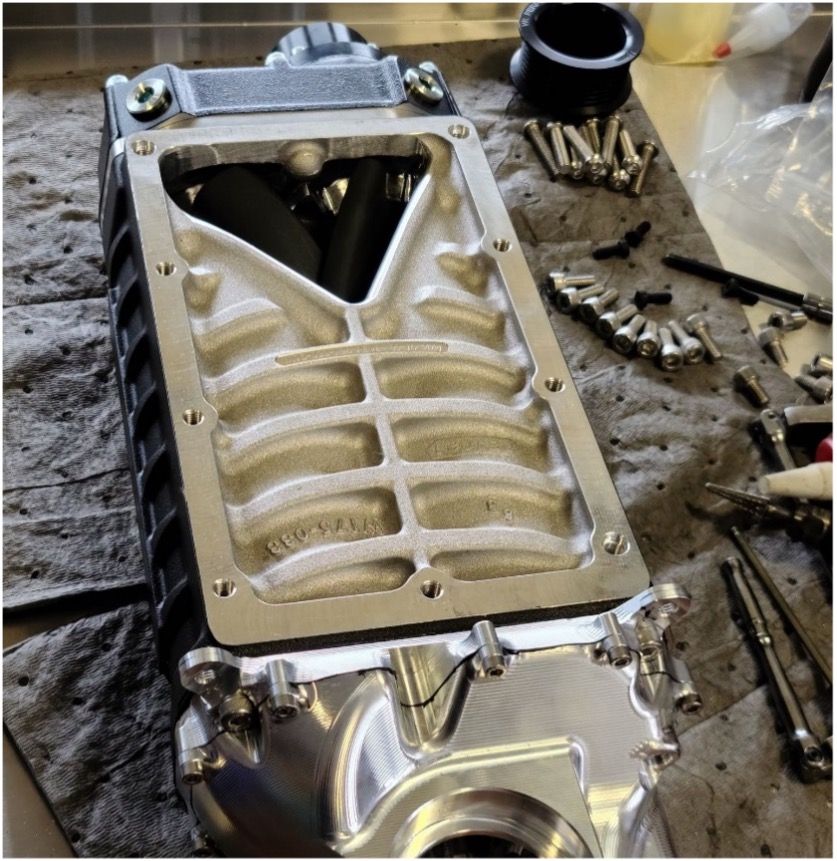
Step 4: Install the Intercooler
You MUST ensure that the intercooler flange is completely flat on the adapter plate or it will not seal properly.
Secure the intercooler with 4x M8 X 14mm bolts at the 4 bolt flange, and 2x M8 X 12mm bolts at the rear tabs.
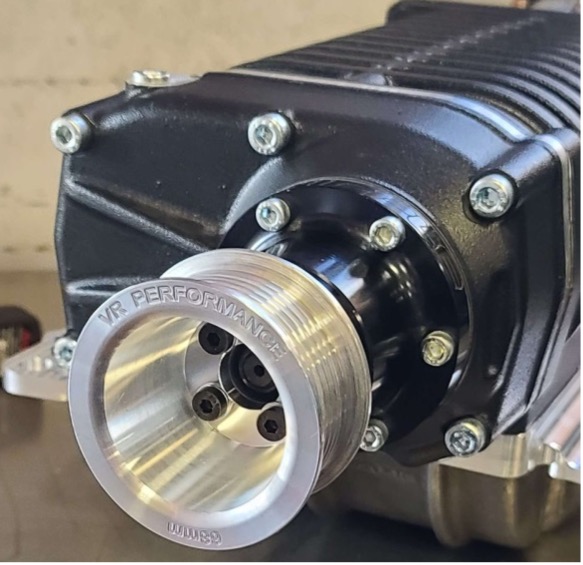
Step 5: Install the Pulley
Install the whipple pulley using 4x M6 X 14mm bolts.
**Per Whipple’s instructions, these should be Loctited (use Loctite purple)
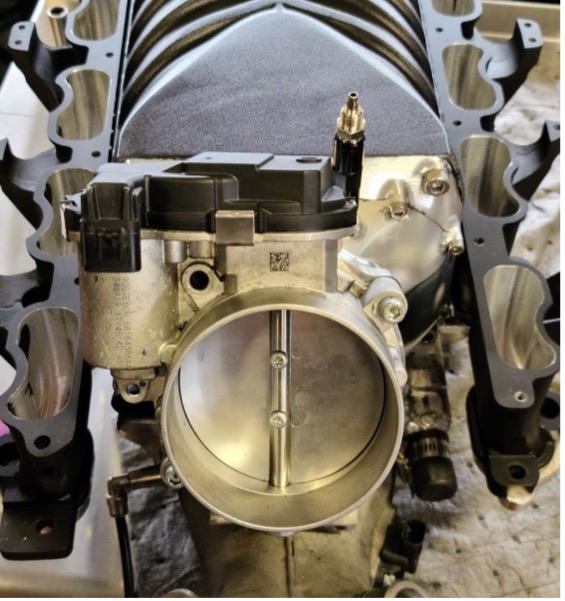
Step 6: Install the Throttle Body
Apply RTV to the Throttle body flange.
Install the throttle body using your throttle body hardware (may vary based on selection)
Step 7: Place into the engine bay
Use factory or thermalnator gaskets on the cylinder heads.
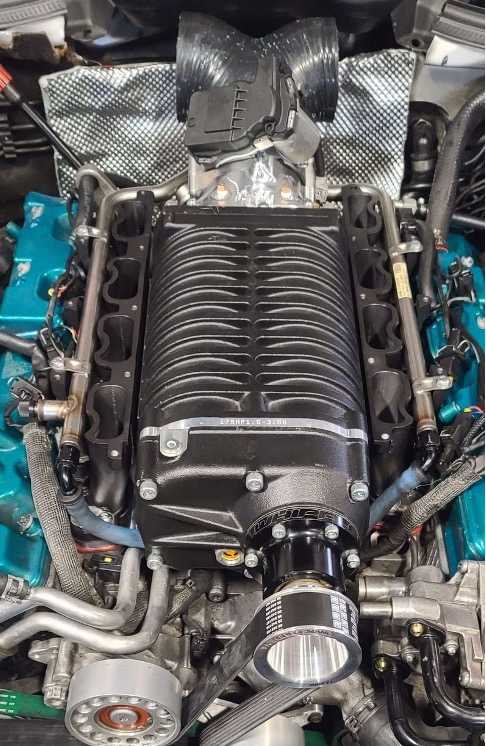
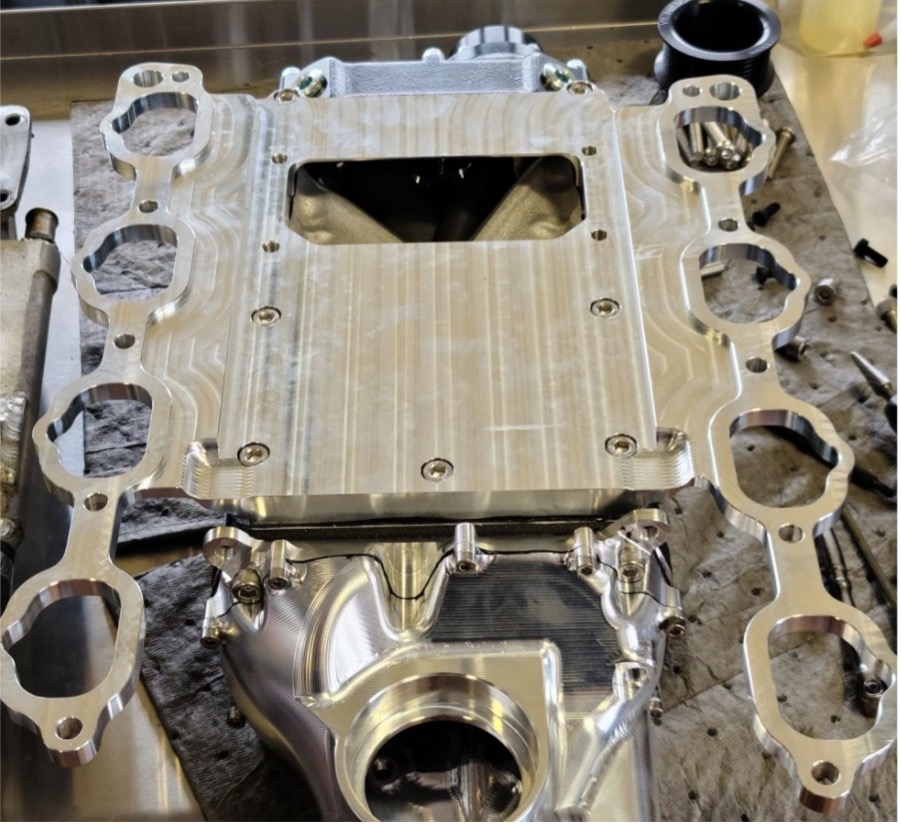
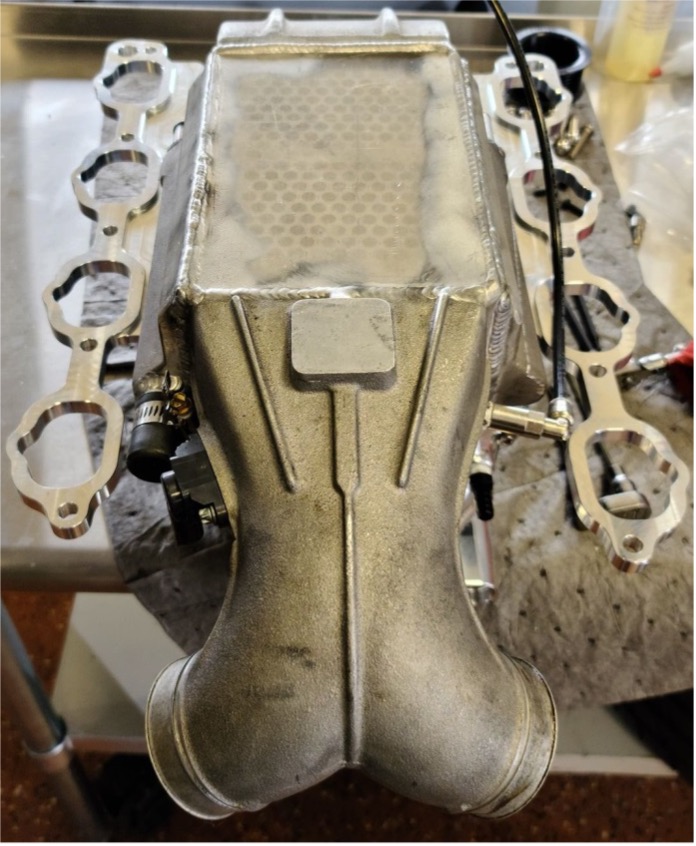
Step 8: Install the Runners
Use a second set of factory gaskets over the VRP whipple plate and bolt down the runners using the long button head 10x M8 X 40mm Bolts. I
Install fuel rail using the black 4 of M6 X 14mm bolts.
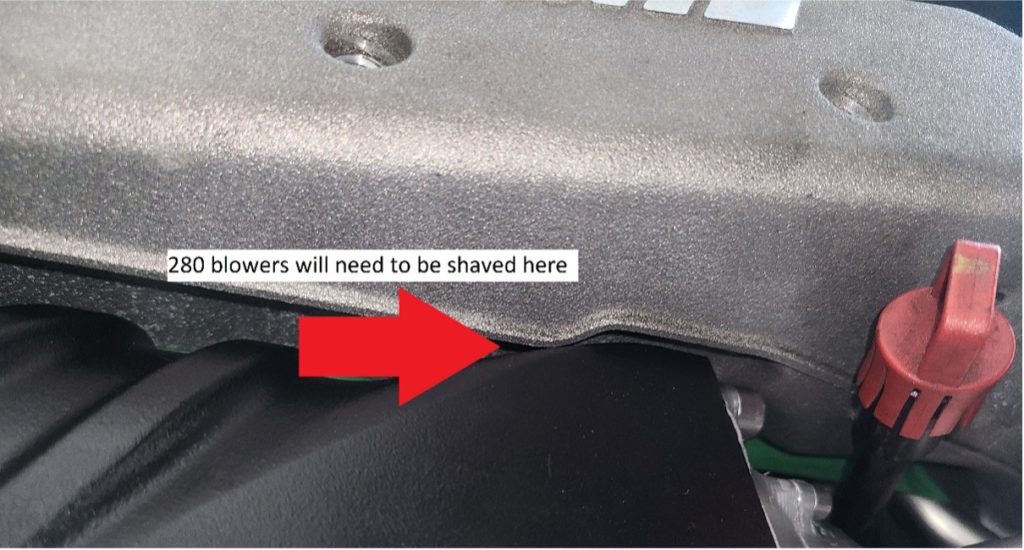
Step 9: Install Surge Tanks
If using factory surge tanks, use the offset couplers provided
*280 Part number surge tanks will need to be shaved on the insides where the supercharger casing is wider
Step 10: Crank Vent System
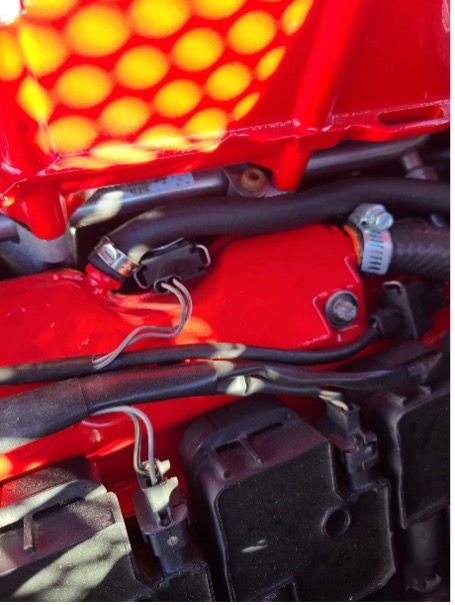
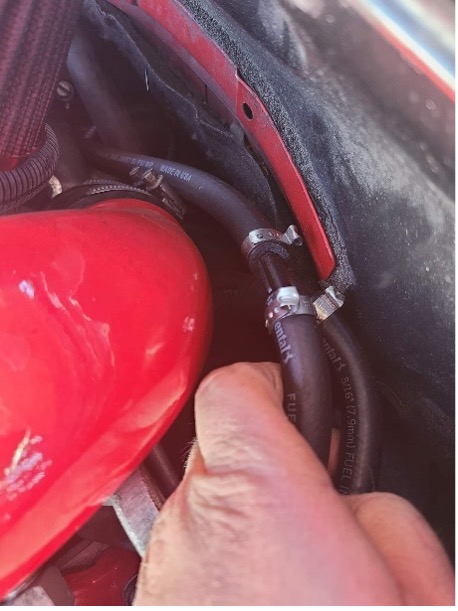
Install Vaccuum line to each 3/8” Crank Case Breather port.
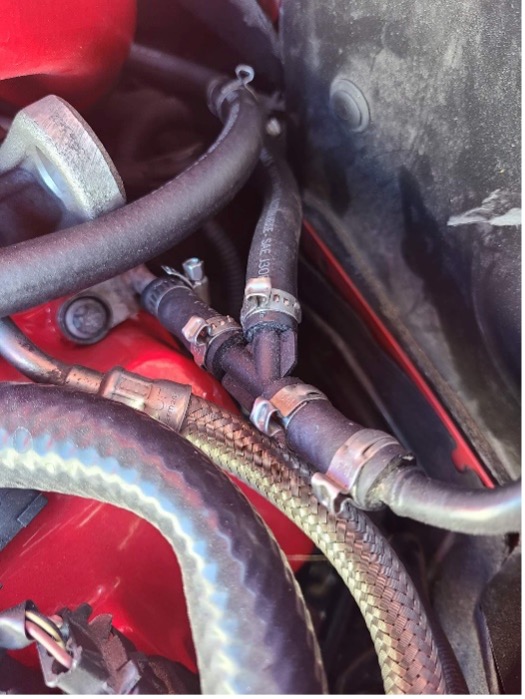
Connect the 2 ports together at a T.
Step 11: Apply Tune
Please follow the instructions in your tune packet to install your tune file, It is HIGHLY reccomended you have a tune from VRP to match this blower. If you need to purchase a tune you can find it at this link
Step 12: Enjoy your new Whipple!